
SwiftUI 를 활용한 iOS 앱 프로젝트를 생성하는 단계를 정리해보려고 해.
아래 URL 을 참고한 아주 기초적인 내용의 프로젝트야.
참고: https://developer.apple.com/tutorials/swiftui/creating-and-combining-views
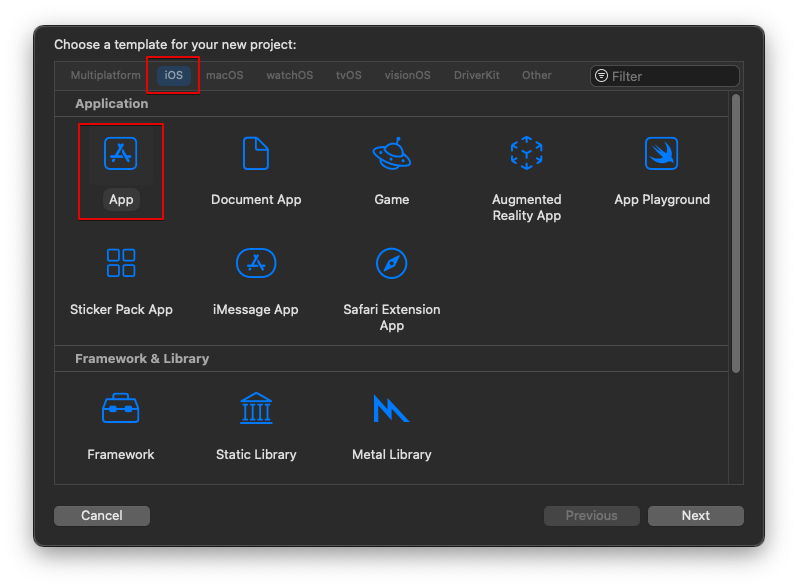
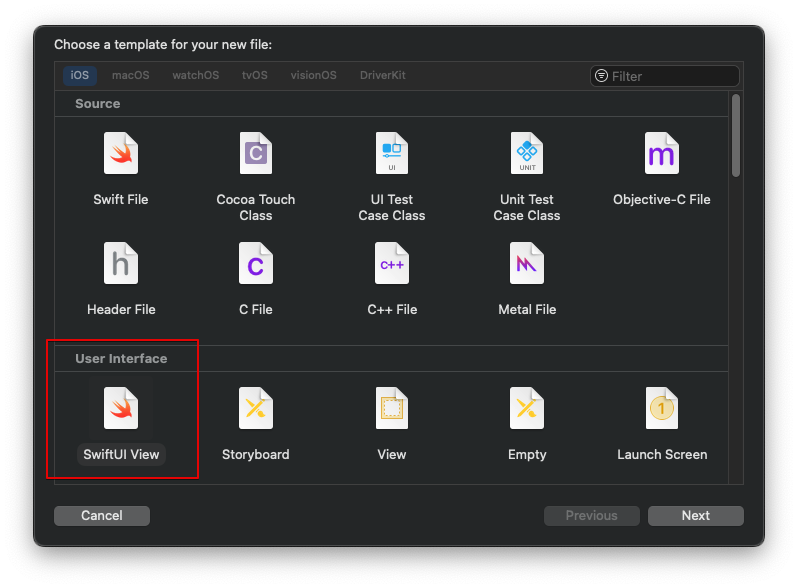
Choose a template for your new project: iOS – App
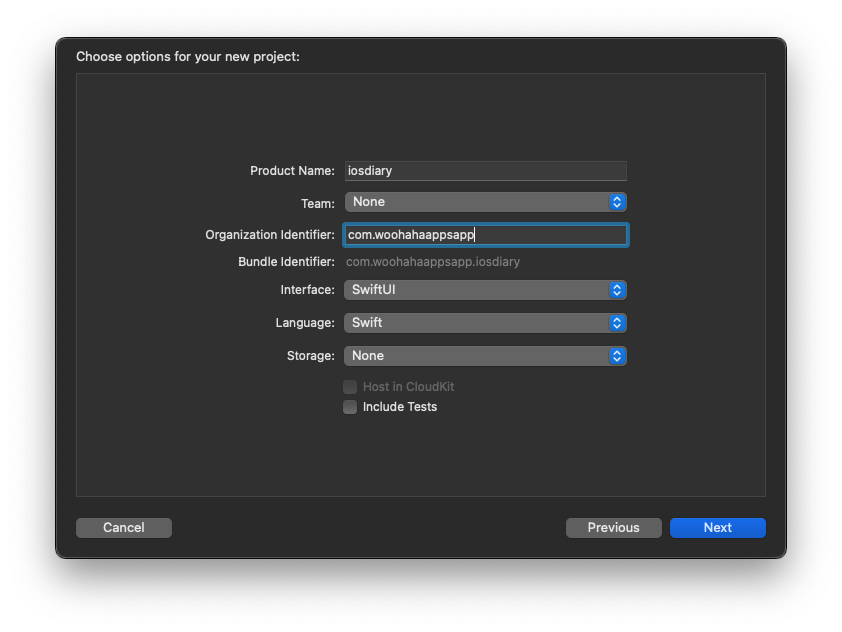
Choose options for your new project:
Interface: SwiftUI
Language: Swift
앱 메인 파일 : iosdiaryApp.swift
//
//  iosdiaryApp.swift
//  iosdiary
//
//  Created by woohaha on 2024/04/17.
//

import SwiftUI

@main
struct iosdiaryApp: App {
    var body: some Scene {
        WindowGroup {
            ContentView()
        }
    }
}
@main 은 앱의 진입점을 의미
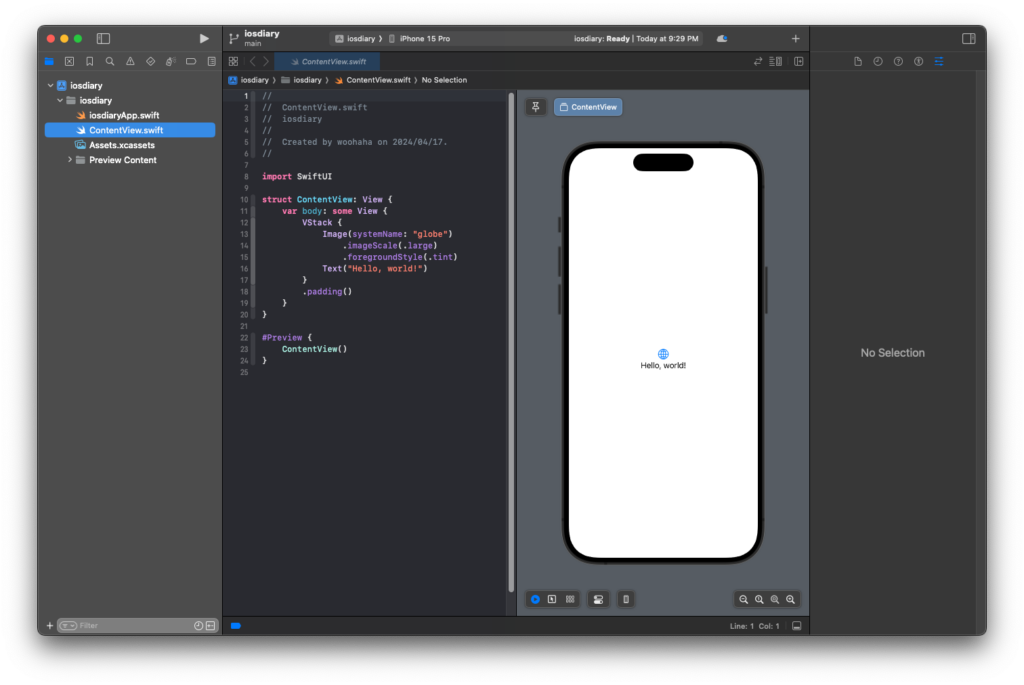
main App 에서 참조하는 뷰 : ContentView.swift
//
//  ContentView.swift
//  iosdiary
//
//  Created by woohaha on 2024/04/17.
//

import SwiftUI

struct ContentView: View {
    var body: some View {
        VStack {
            Image(systemName: "globe")
                .imageScale(.large)
                .foregroundStyle(.tint)
            Text("Hello, world!")
        }
        .padding()
    }
}

#Preview {
    ContentView()
}
ContentView 의 미리보기 : #Preview
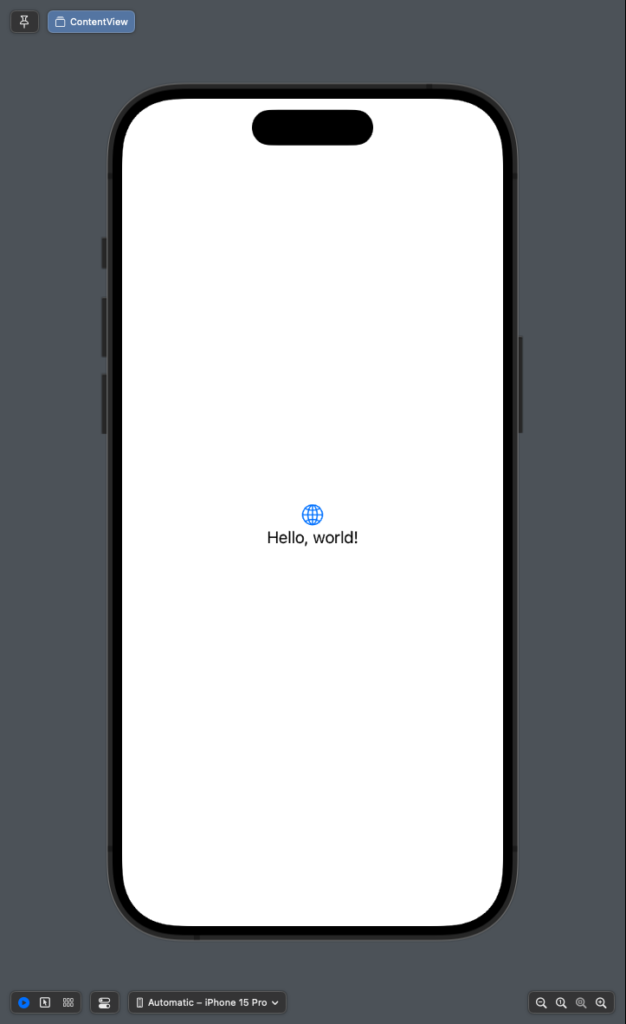
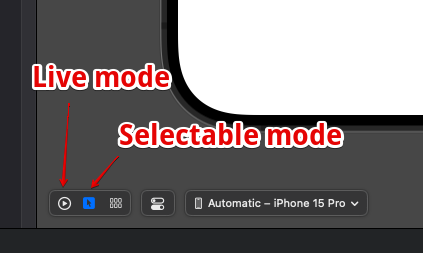
Live mode 에서는 코드에 구현된 뷰의 미리보기가 가능
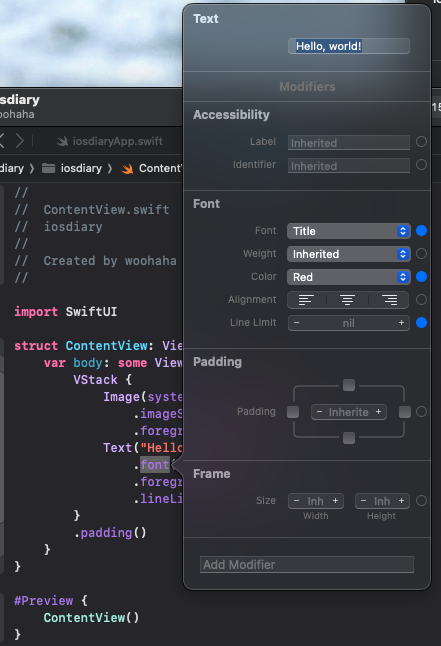
Selectable mode 에서는 배치된 컴포넌트의 속성 설정이 가능
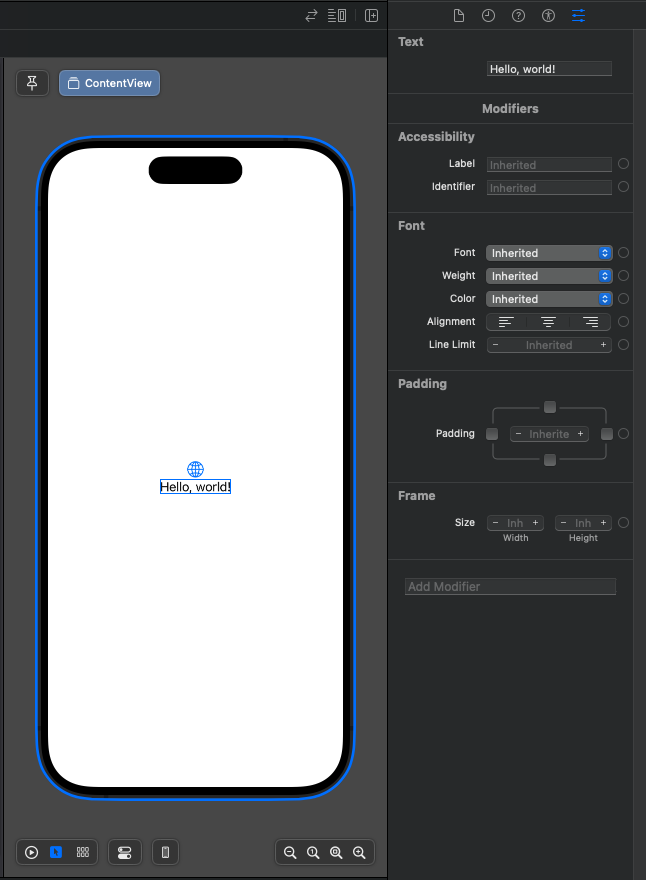
Command+Control 을 누른 상태에서 컴포넌트를 클릭하면 해당 컴포넌트에 대한 Inspector 를 볼 수 있다.
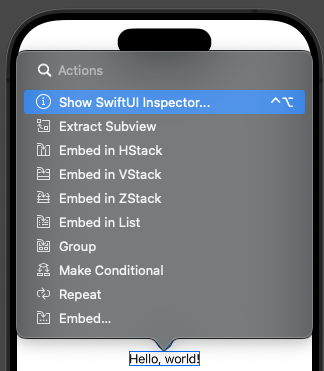
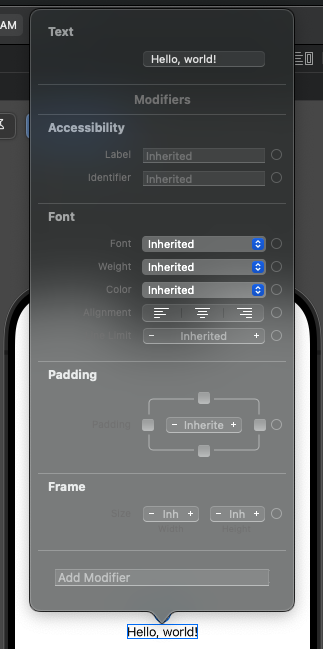
편집기에서 Ctrl 키와 함께 선언을 클릭하고 “Show SwiftUI Inspector…” 를 선택하면 코드뷰에서 인스펙터 팝업메뉴를 볼 수 있다.
VStack, HStack, Spacer

struct ContentView: View {
    var body: some View {
		VStack(alignment: .leading) {
			Text("Turtle Rock")
				.font(.title)
			HStack {
				Text("Joshua Tree National Park")
					.font(.subheadline)
				Spacer()
				Text("California")
					.font(.subheadline)
			}
        }
		.padding()
    }
}
뷰의 중첩
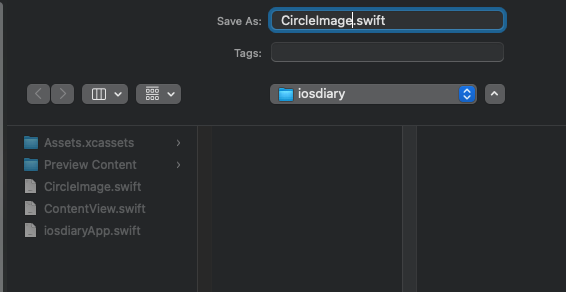
신규 뷰 생성
import SwiftUI

struct CircleImage: View {
    var body: some View {
        Text("Hello, World!")
    }
}

#Preview {
    CircleImage()
}
Text 컴포넌트 지우고 Image 컴포넌트 추가
import SwiftUI
struct CircleImage: View {
var body: some View {
Image("turtlerock")
}
}
#Preview {
CircleImage()
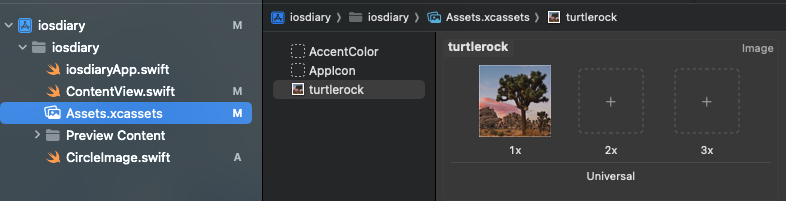
}turtlerock 은 Asset 에 추가해둔 이미지 리소스 이름

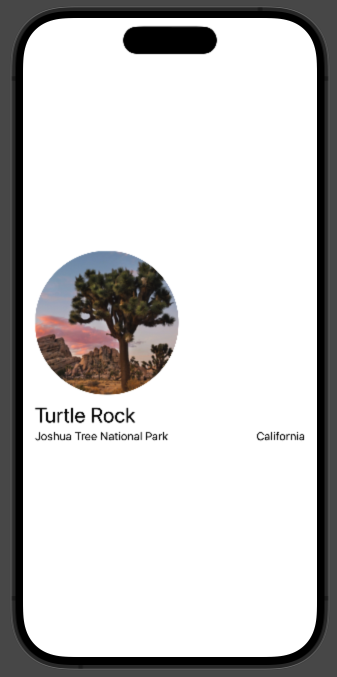
ContentView 에 CircleImage 뷰를 추가
import SwiftUI

struct ContentView: View {
    var body: some View {
		VStack(alignment: .leading) {
			CircleImage()

			Text("Turtle Rock")
				.font(.title)
			HStack {
				Text("Joshua Tree National Park")
					.font(.subheadline)
				Spacer()
				Text("California")
					.font(.subheadline)
			}
        }
		.padding()
    }
}

#Preview {
    ContentView()
}
글꼴 수정자의 이동
이동 전
			HStack {
				Text("Joshua Tree National Park")
					.font(.subheadline)
				Spacer()
				Text("California")
					.font(.subheadline)
			}
이동 후
			HStack {
				Text("Joshua Tree National Park")
				Spacer()
				Text("California")
			}
			.font(.subheadline)